

As a tool maker I find it hard to make time for actual woodworking that is not tool related. This is too bad because I miss this type of woodworking. Frankly after you spend a great deal of time in the shop making tools the idea of going back into the shop for any reason is not really an attractive idea. It's really better to create time to pursue one thing at a time so the week before Christmas and this week were set aside for personal work.
Of course I immediately begin thinking thru all the house maintenance items that needed to be accomplished but I was resolute to make this an enjoyable time to pursue a project that's been on my mind for a while and one that I actually started a while back and left unfinished.
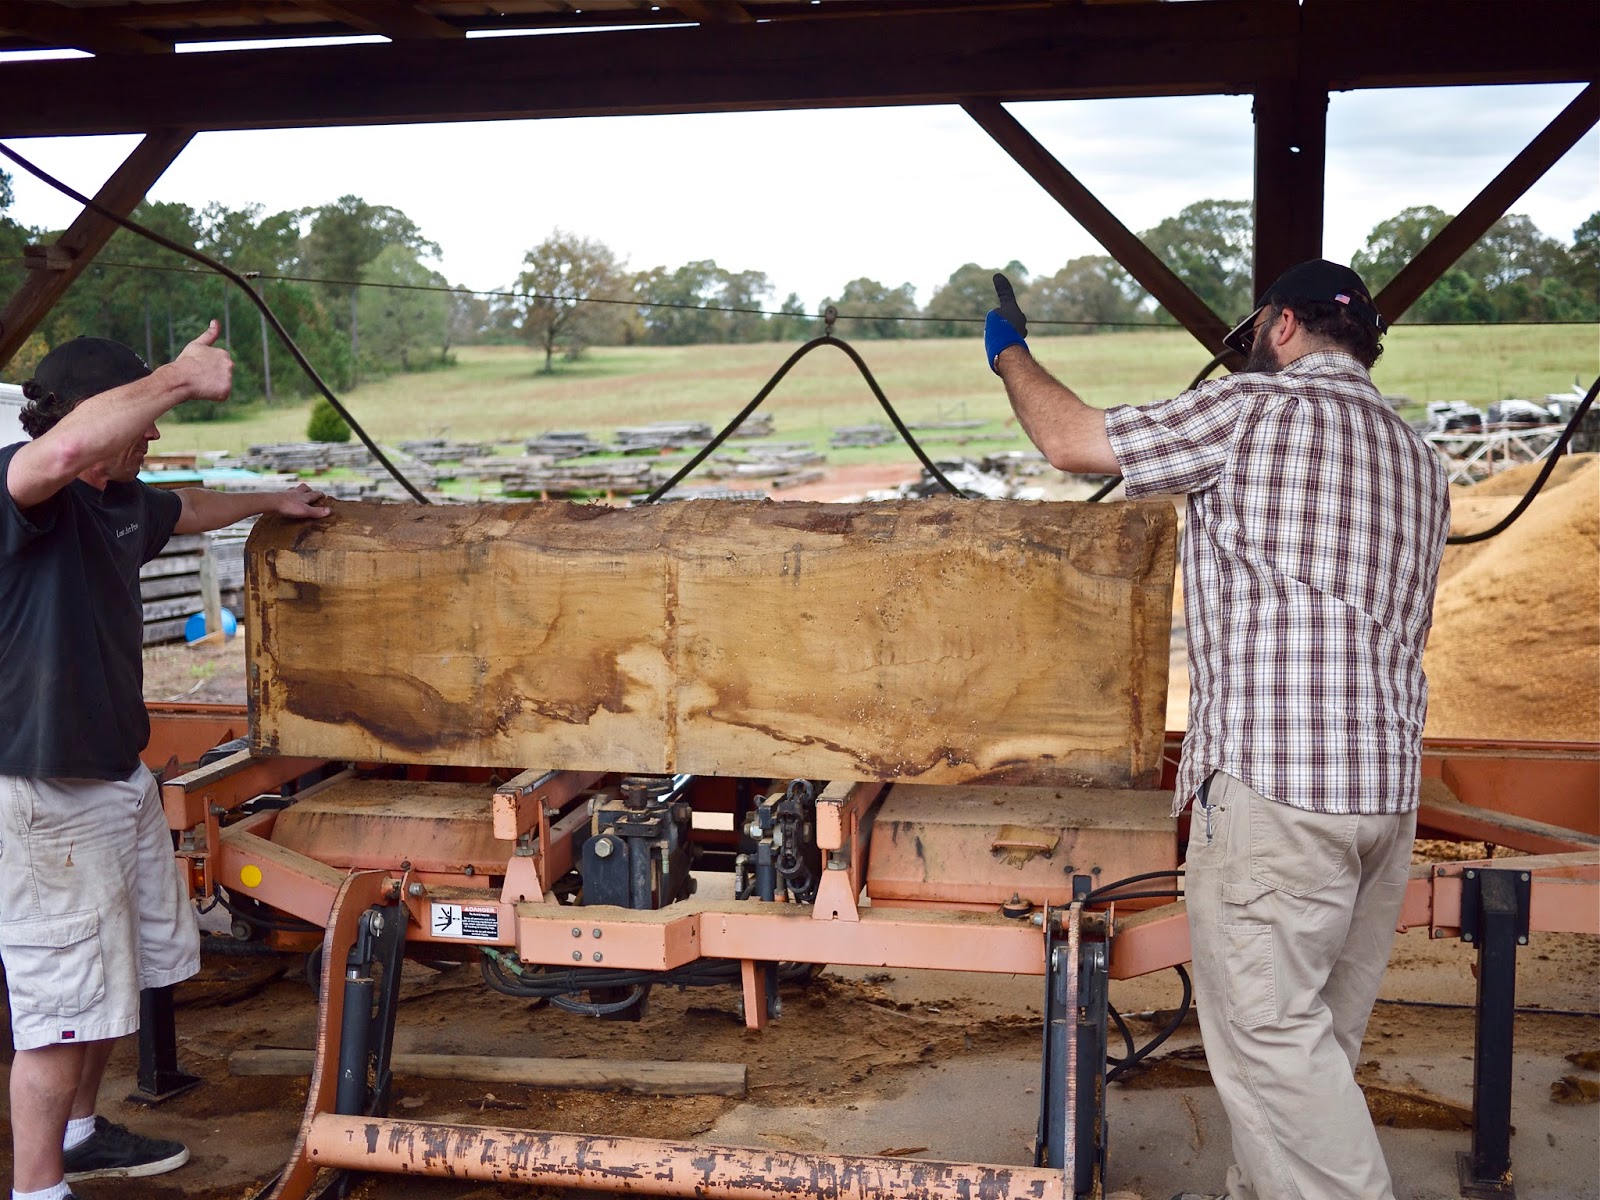
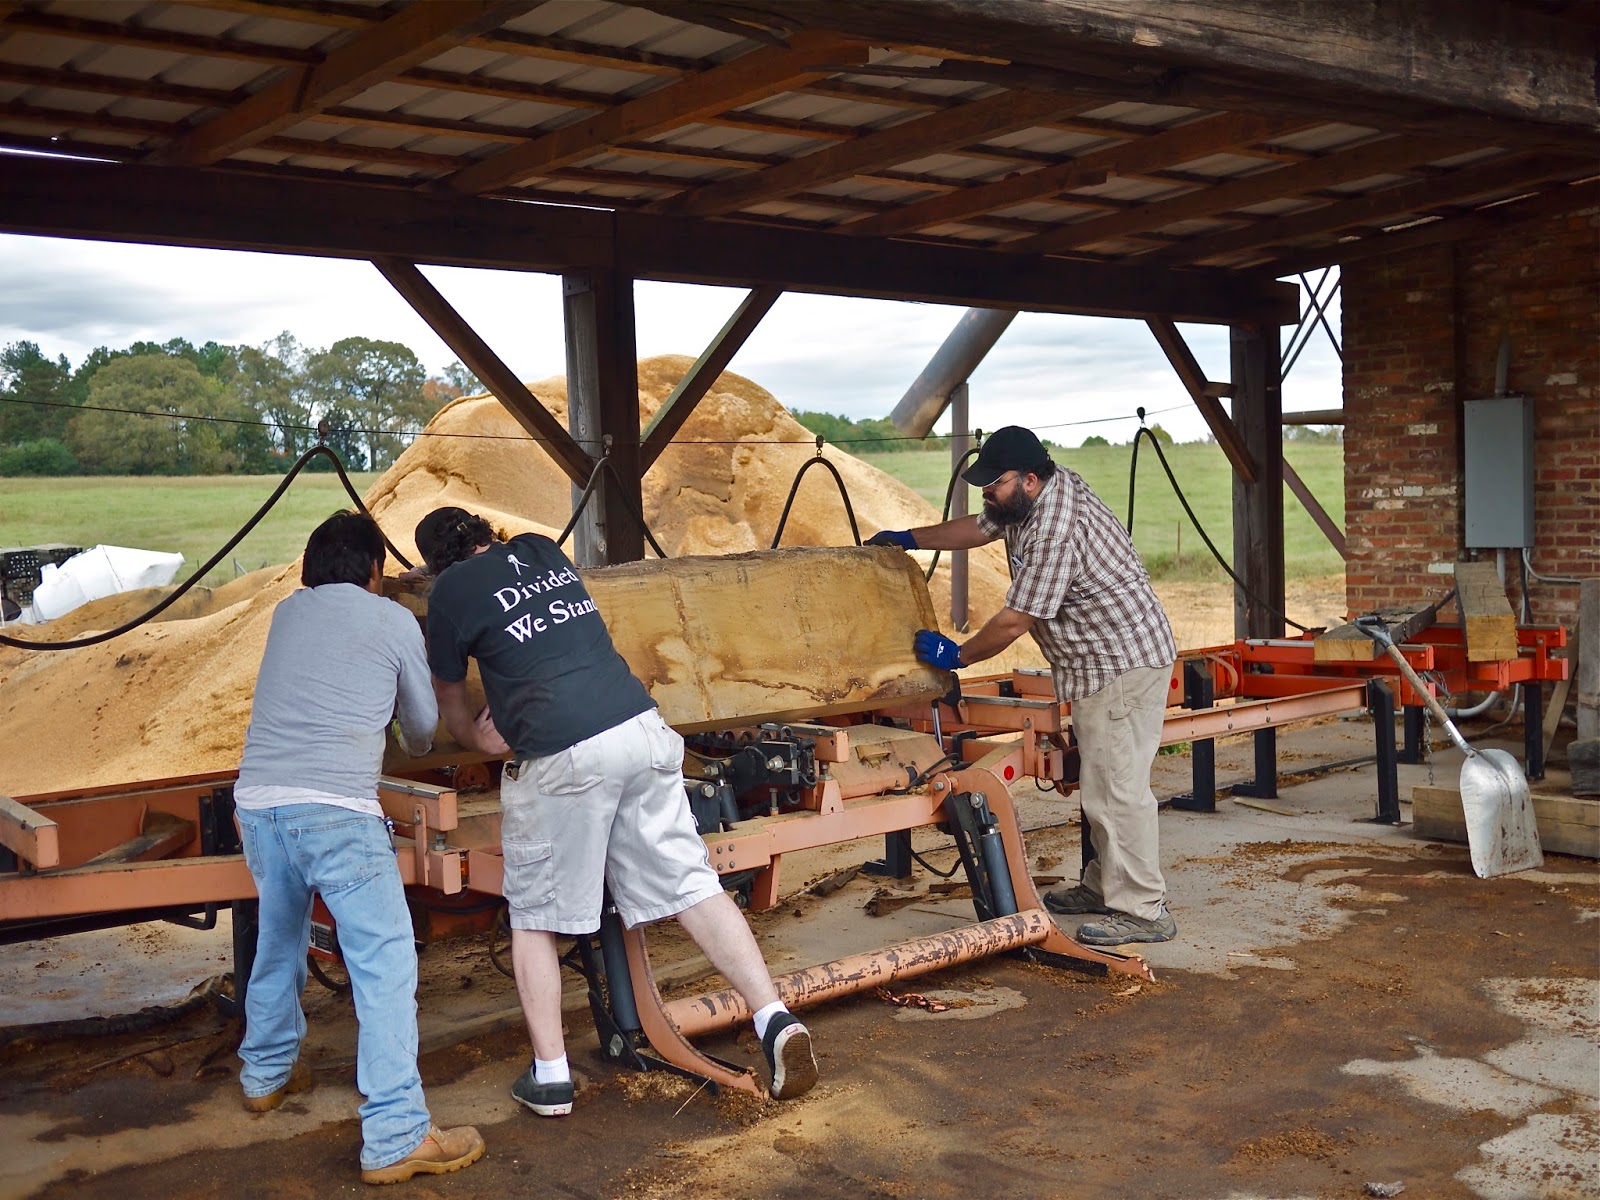
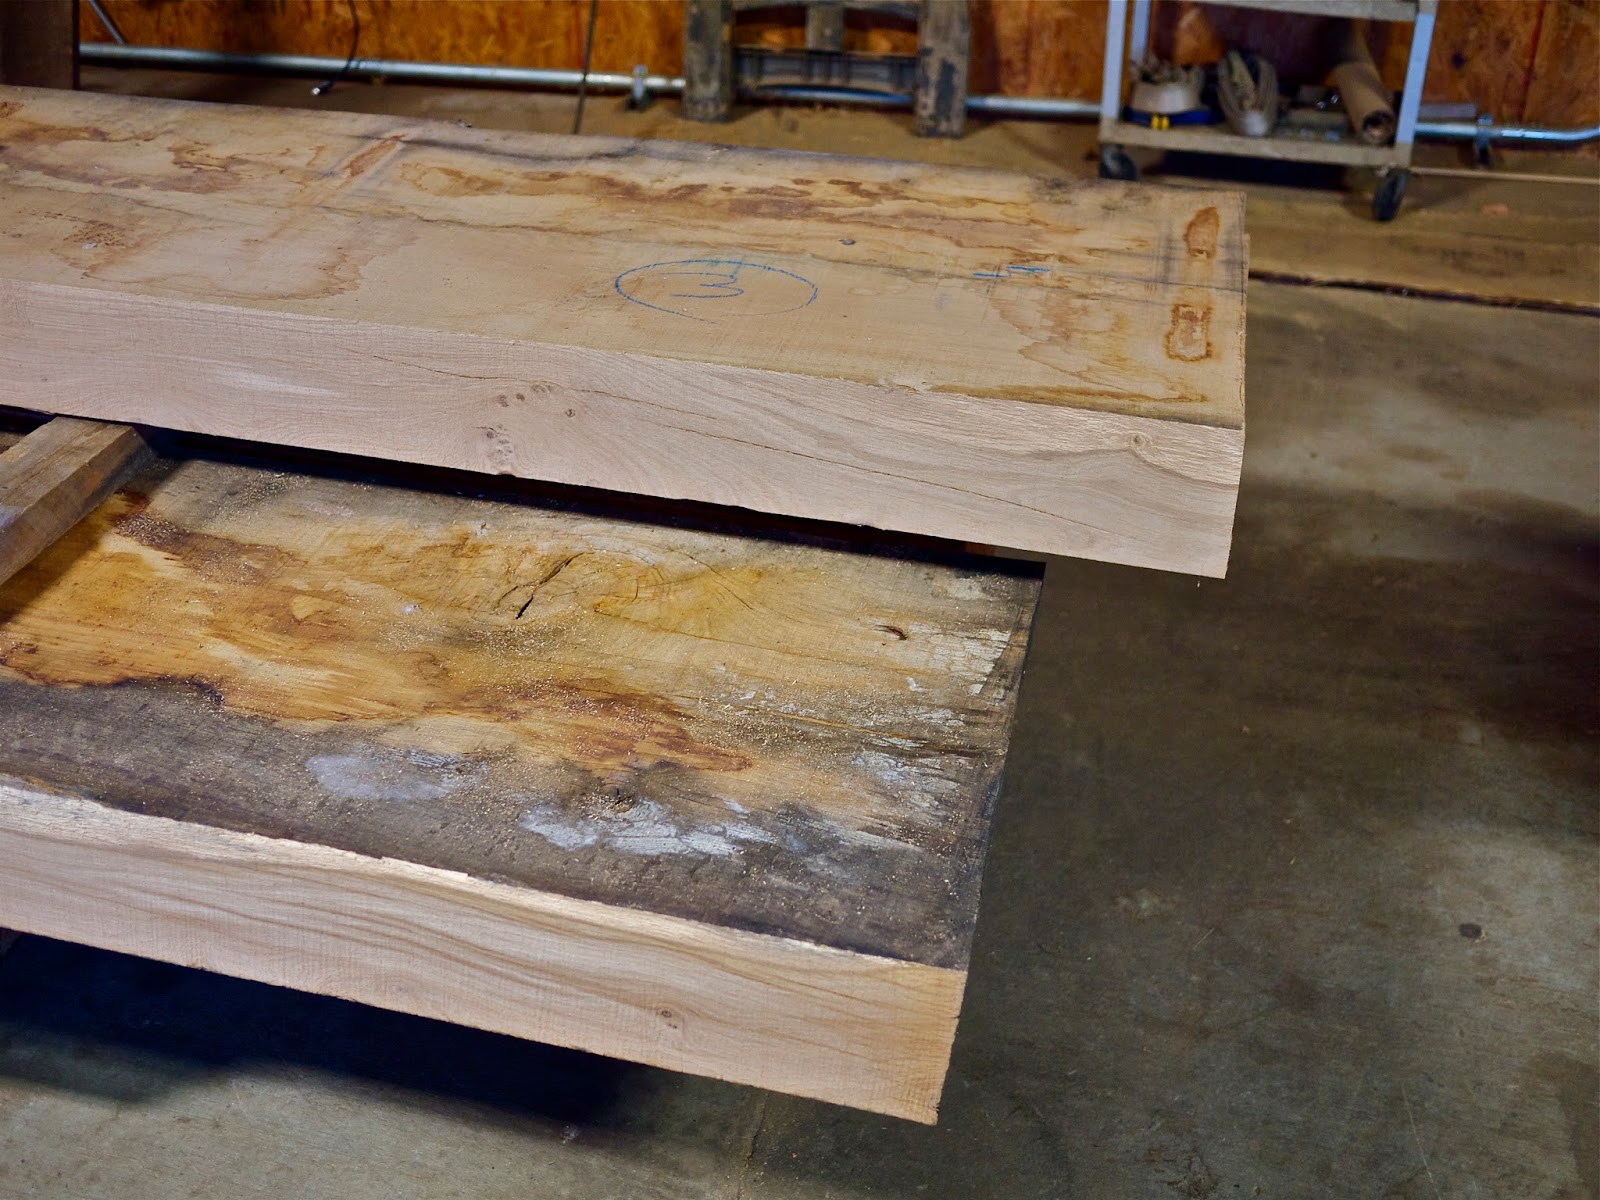
I had roughed out some walnut boards for another clock like the pine version I made a year or so ago. Each time I walked thru my lumber shed, going and coming from the shop there those pieces were, leaning against some mahogany boards in one of my lumber racks. I felt as though they were mocking me. It was like an unanswered question...."when will you finish me?"

And then it started raining...........and raining, and
raining and then it rained some more. It seemed we were
experiencing a near Biblical event. As you can see in
the picture above, the lake on my neighbors property was
over flowing on one corner of the damn. A lot of water
can flow thru a 10" diameter over flow pipe. You can
just imagine the shear volume of water that was coming
into this lake that resulted in more water than the
drain could possibly dispense below the dam.
Of course this did not interrupt my woodworking project
in the shop, however it did necessitate running the
dehumidifier to keep the moisture content of the air in
my shop at an acceptable level. The unseasonable
tropical type weather we experienced created a situation
we've never encountered. Never have we needed to run our
air conditioning system while there was a Christmas tree
in the house. This was a first.
Back Boards
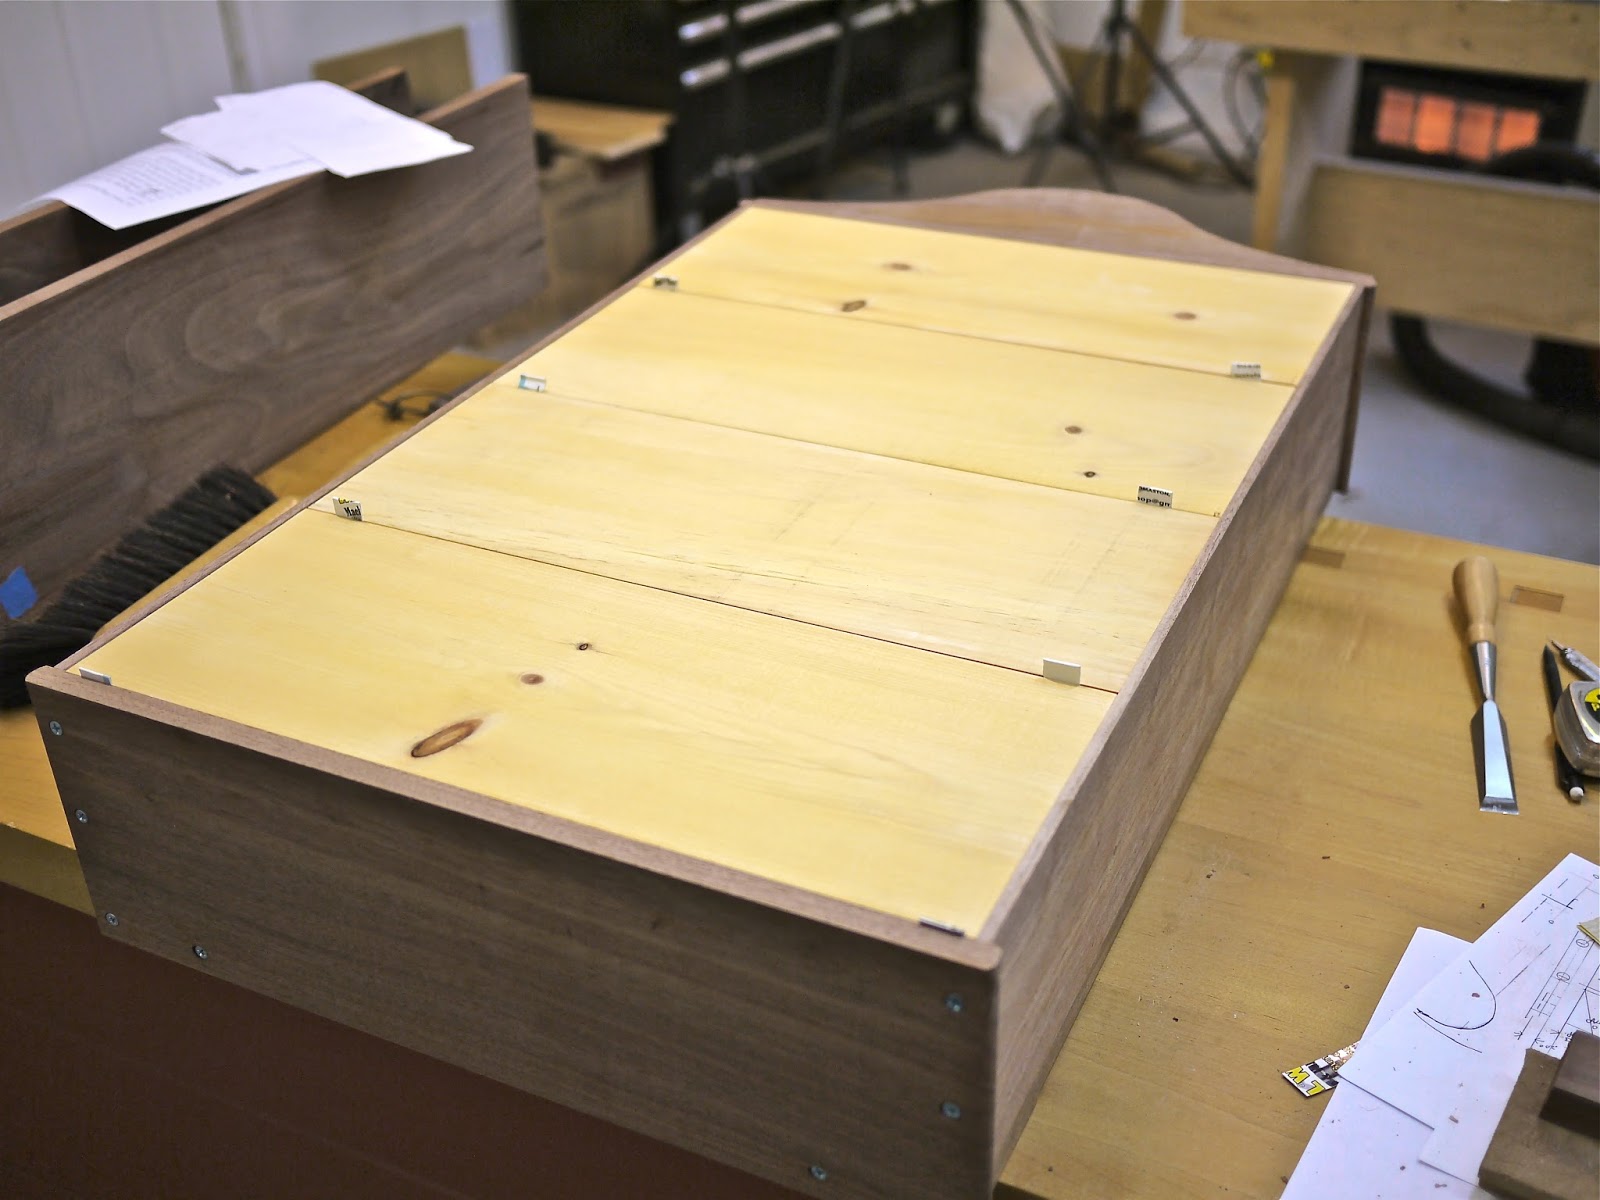
Lots of people use 1/4" plywood for back boards these days and there's really nothing wrong with that. I've chosen to use pine back boards on my last couple of projects. They are a more authentic detail and they add visual interest when the case is opened. Leaving them a light color also has the functional advantage of creating a better lit interior.
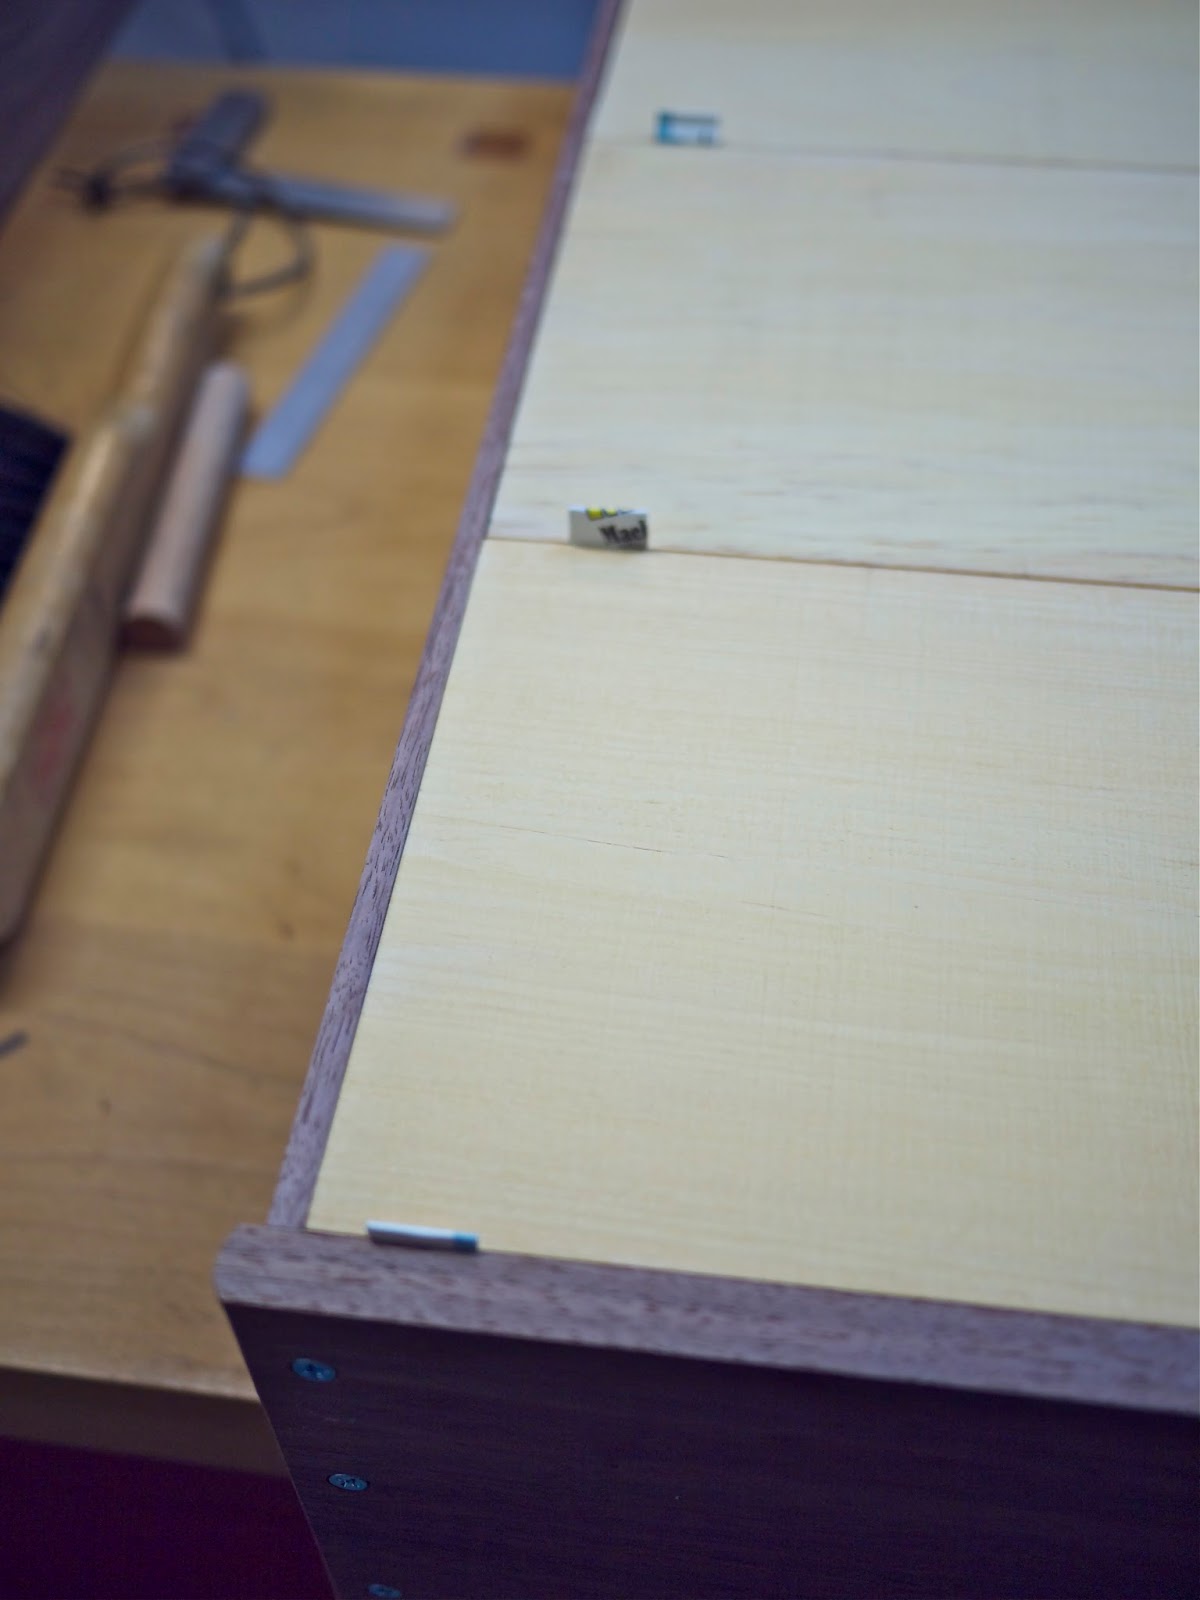

I used a business card cut into pieces and folded to double thickness to space the back boards. This leaves plenty of room for wood movement. To join the boards together I simply sawed a slot gauging from the face that would show on the interior surface of the clock case, then cut and planed splines to fit into these slots. This is easy, fast and the end result is much more interesting than a ply panel.

I broke the corners slightly to accentuate the join
between the back boards. I had some waterborne lacquer
that needed to be used while it was still viable. I
added a bit of amber Transtint to this material so the
finish would not have the cool look associated with
waterborne finishes. Two brushed on coats then sanded
with 400 grit paper and then rubbed down with some steel
wool finished these up quite nicely. This may have been
a bit over kill for back boards and a well prepared then
waxed suface would have also worked well.
Board and Batten Doors
Board and Batten doors are under used in fine cabinetry in favor of frame and panel doors. I think in some context they are very suitable. In this instance the case construction is quite simple and so should be the door.
Most of my recent furniture making pursuits have been in the idea of simplifying construction to make the build aspects more enjoyable and less taxing. The construction method can be quite simple until you decide to include a cut out that will retain glass, then the method becomes somewhat complicated and the sequence of building up the door requires considerably more work. Housing a clock works always complicates case construction.
Some would say it may be hard to control wood movement
in this style of door and that is why they prefer a
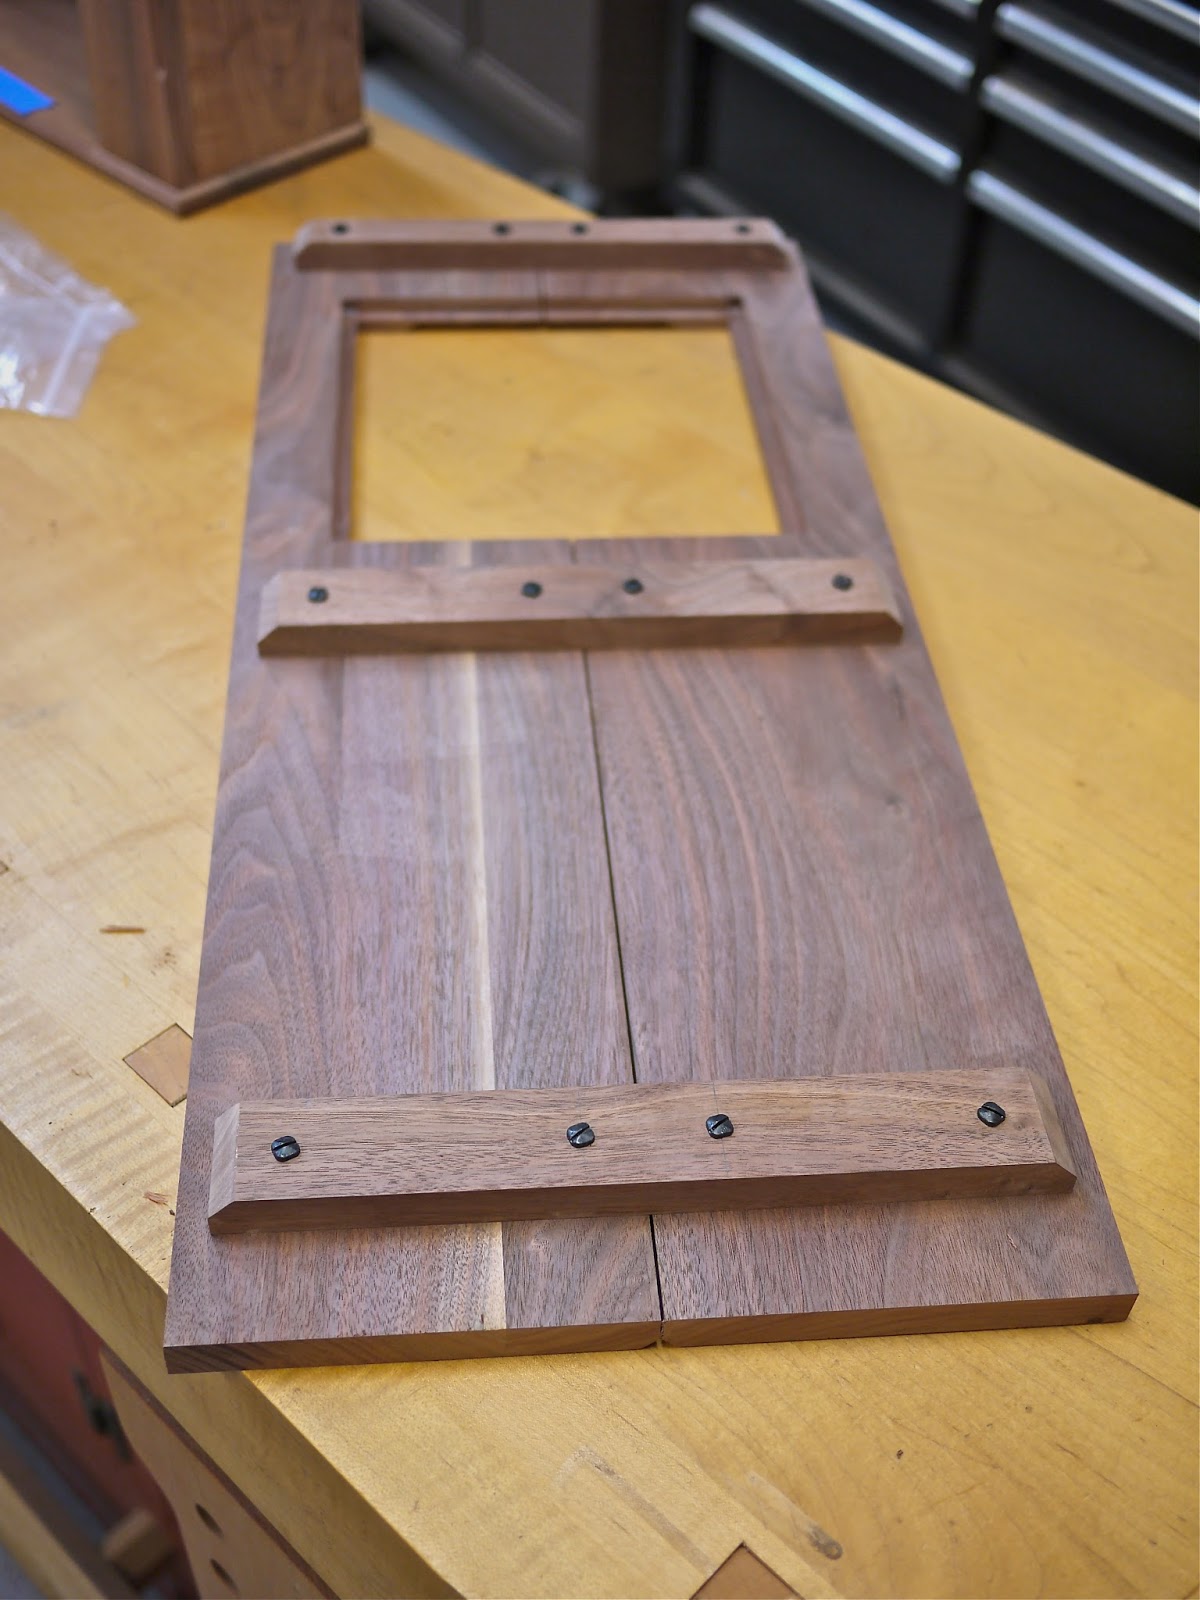
frame and panel door. I disagree. This door is
pre-assembled using pyramid head screws. I will remove
the battens to refine the surfaces for finish. When I
re-assemble the door I will actually put a bit of glue
under the batten at the outer edges of the door and will
enlarge the large the holes for the screw at the center
of the door battens which effectively makes all the
movement occur in the center of the door. This is the
same thing that occurs in a frame and panel door and the
doors I've made with this method are doing quite well
and enduring seasonal changes without issue.
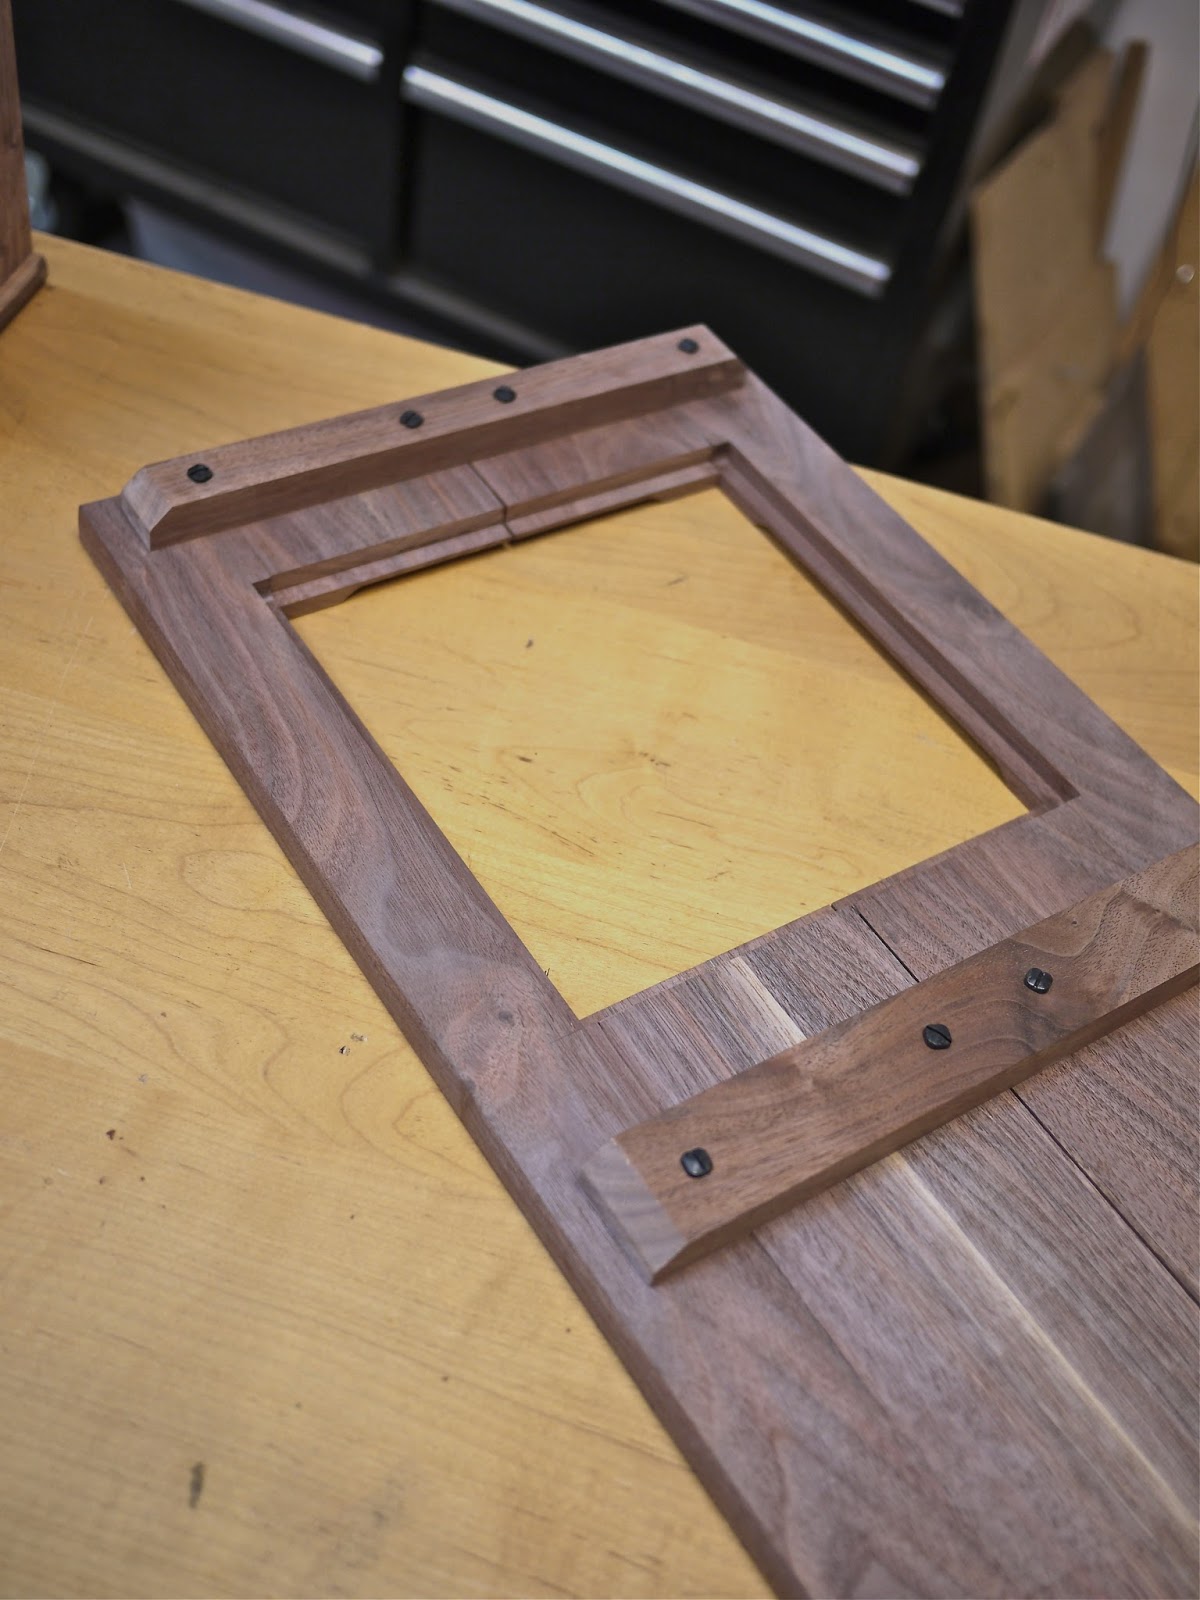
You could subsequently add cut nails driven thru the
front face of the door and clinched over into the
battens, thus eliminating the need for the screws in the
backs of the battens. Or you could do both. I'm using
the black pyramid head screws so the front of the door
is cleaner with no fasteners.
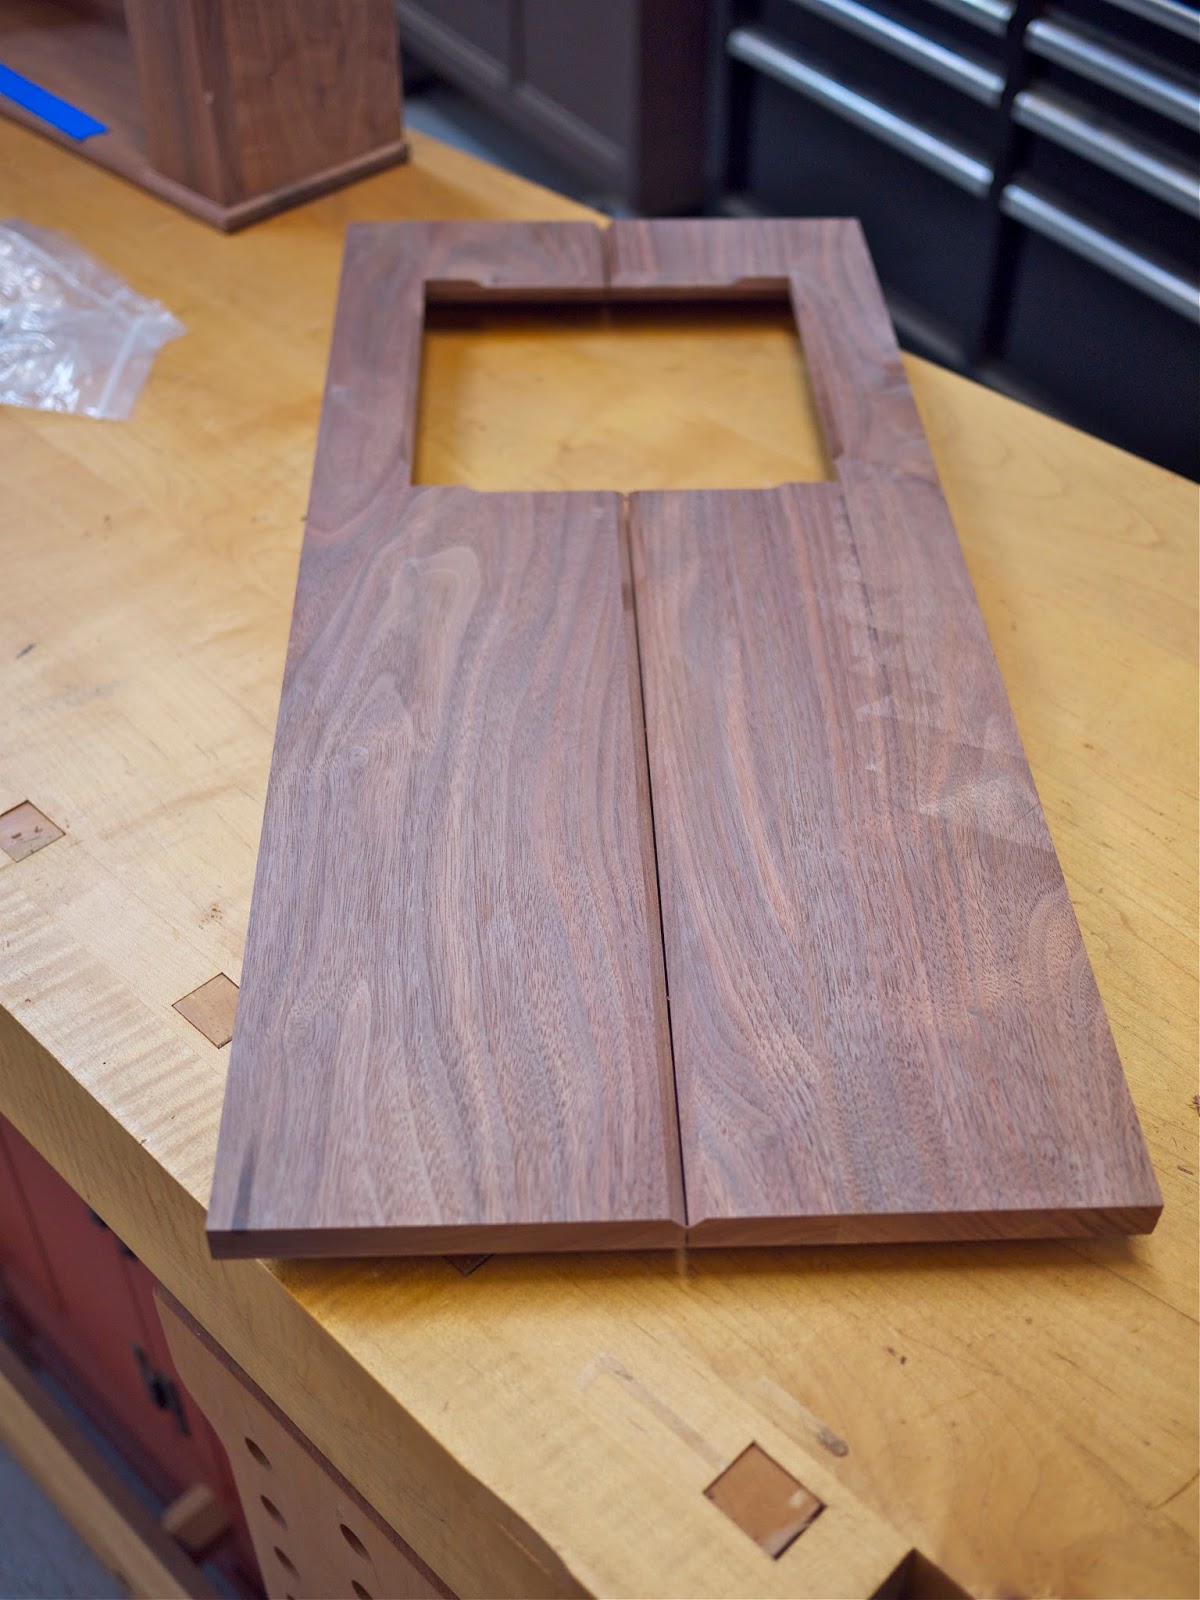
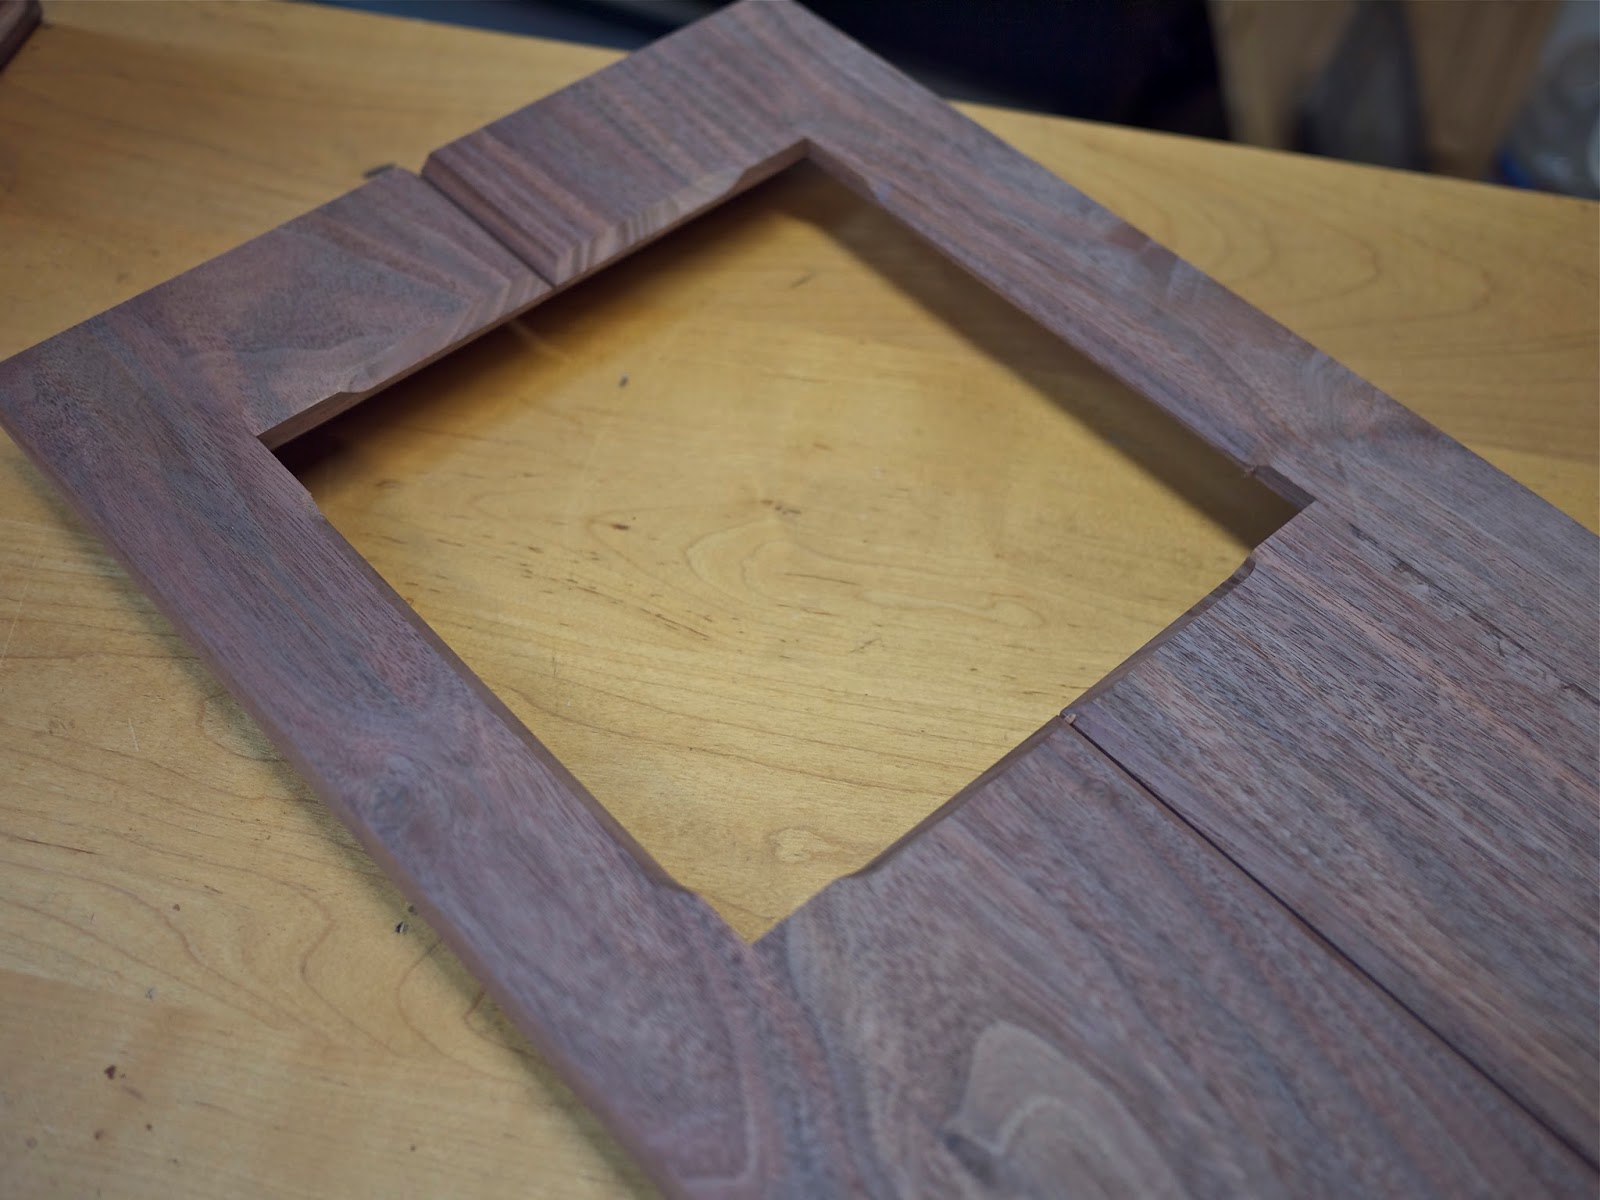 |
| The clock dial cutout with stopped chamfer detail around the opening |
There are plenty of ways to add visual interest to these
type doors. The simple chamfer where the boards come
together at the center along with the stopped chamfers
around the door opening are ways to create visual
detail.
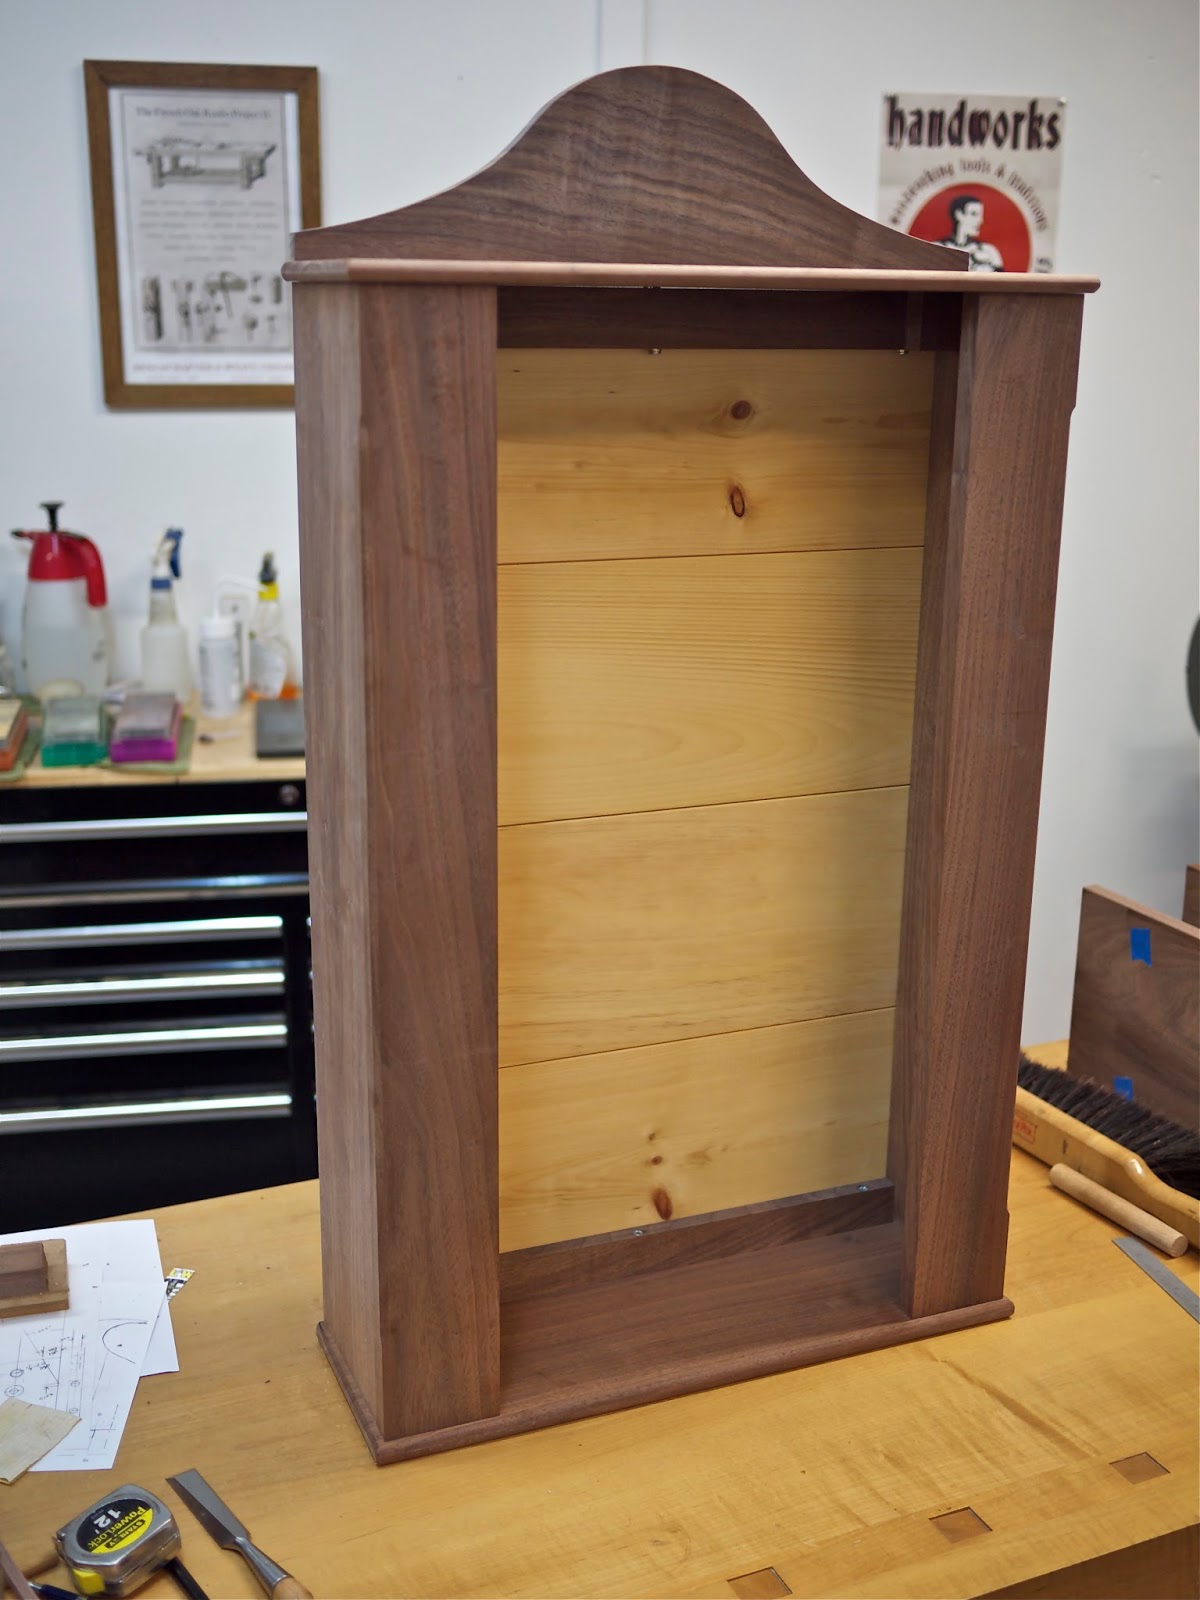 |
| The assembled case with back boards installed |
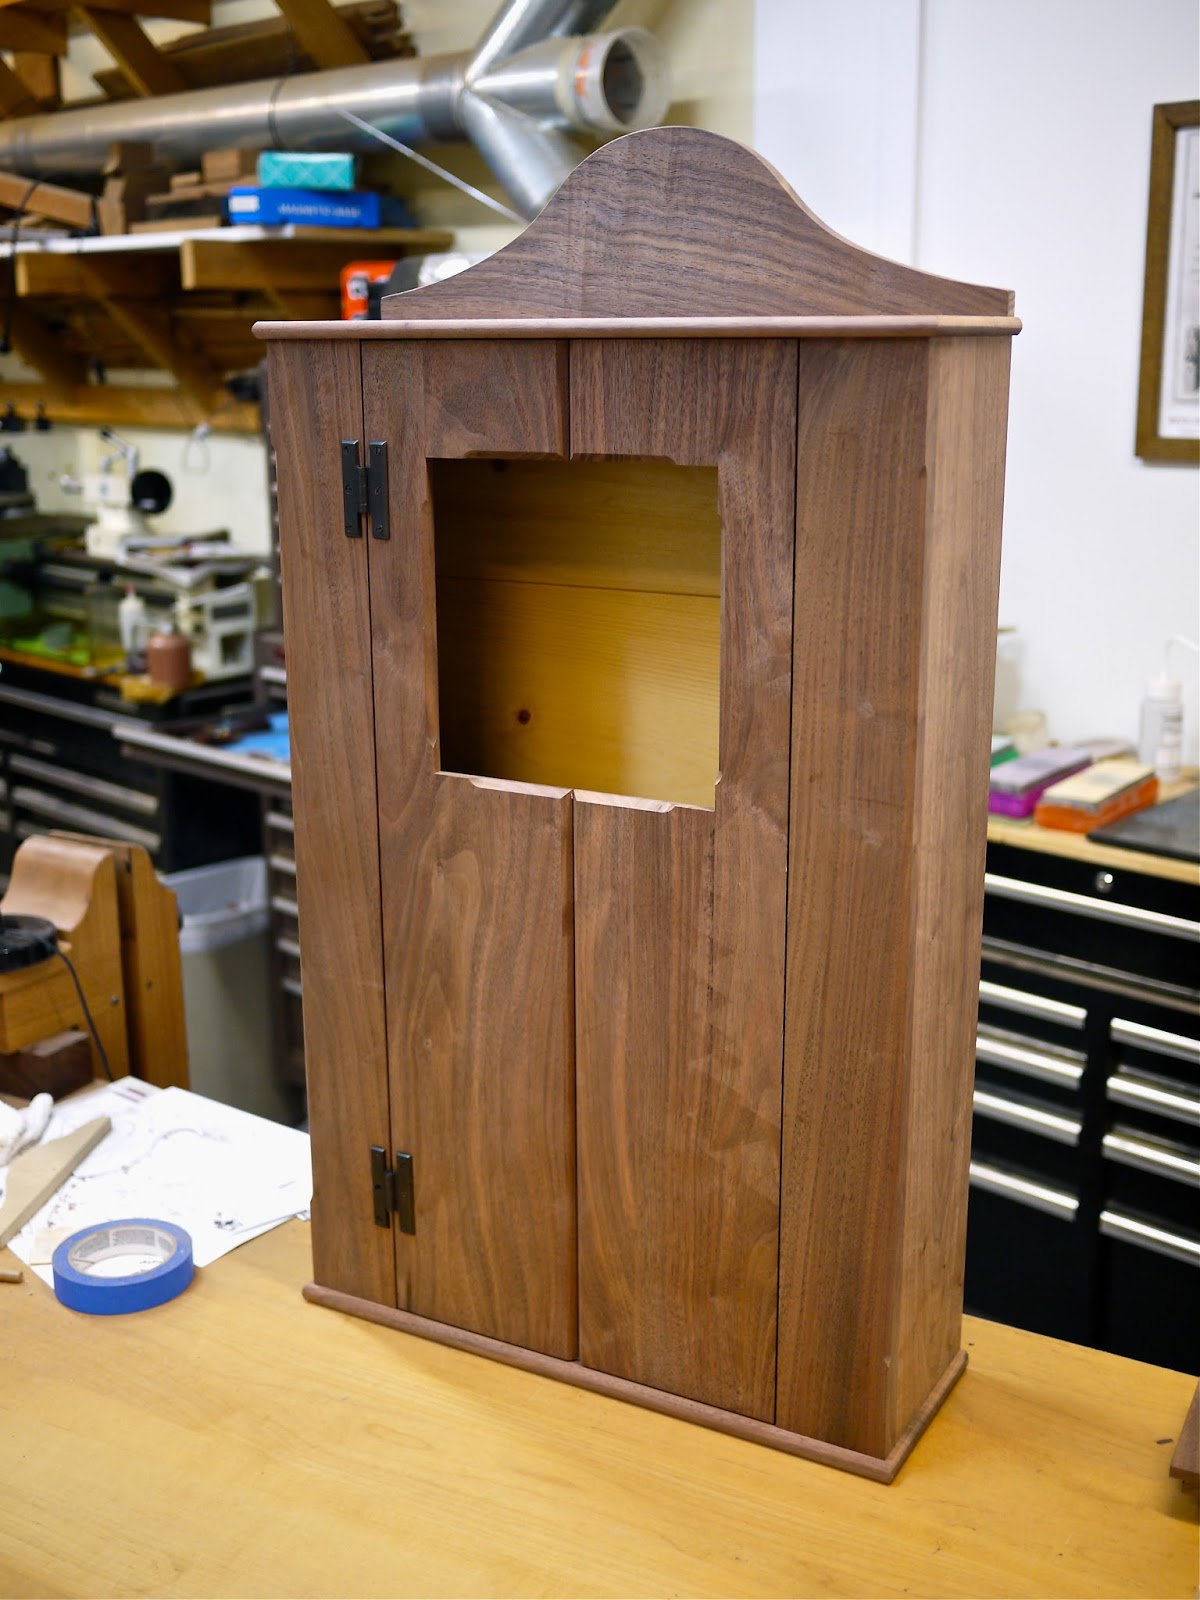
As you can see the board and batten door allows your eye to flow around this piece easily and is most probably a more attractive choice in the context of this piece.
In a general summary of the construction of this piece I should mention that it is basically assembled using pyramid head screws and nails. In fact the top of the case will not be permanently joined to the case sides and front stiles until after the finishing process. At that point it will be fastened by driving pyramid headed nails thru the top panel into the sides and the top of the front stiles. I will pre-drill holes for the nails to avoid splitting the finished pieces. At least that's the way I have it planned in theory.
We'll see,
Ron


